
Maria Elena Casillas, Intero A Berkshire Hathaway AffiliatePhone: (408) 821-2649
Email: [email protected]
Email: [email protected]
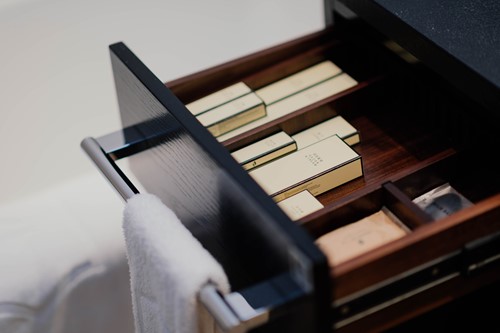
Photo by chuttersnap on Unsplash
They just don't make furniture like they used to. But even well-made drawers can break from time to time. And when they do, the best thing you can do is fix the drawer joint quickly rather than tugging on a loose panel, causing warping damage.
Here's the simplest way to get that drawer working properly.
The best-made furniture has a dovetail joint. This is a triangle-shaped interlocking piece of wood that connects the sides of the drawer together as well as the front panel. Pieces slide together like a puzzle.
In economically-priced furniture, the drawer is secured together with wooden pegs and wood glue. This kind is much more likely to give you problems. Each time you slam it shut, those pegs jostle lose slightly until you have a gap. The solutions below will help you repair
Remove any part of the drawer that isn't fully connected. For example, the face of the drawer may be loose while the back joints are intact. Don't undo what's still working. Pegs may fit firmly in one side of the wood. You don't have to remove them unless they're loose.
Now, you're ready to take one of the two approaches.
Very carefully use the drywall knife to peel away any glue on the surfaces. Place a strip of glue across the surface where two pieces come together. Wood glue works well. But epoxy is even better.
Then re-insert pegs on the opposite side, hammering down half-way if needed. Press the wood together firmly until flush. Hold together while wiping away any glue that squeezes out. *Pro tip* Use the rubber mallet to hammer the two pieces together if the pegs won't go in completely. This won't damage the wood.
If the furniture has broken dovetails, you need to get creative. Drill two to four holes slightly smaller than furniture pegs. Insert new pegs. And then complete step three.
If the drawer is in a high traffic area, you might need to strengthen the drawer. So alternatively, place corner braces inside the drawer. After taking the drawer apart, position the braces in the inside of the drawer and use a pencil to mark where to drill. Drill holes for the braces and screw them in.
And that's how to fix a broken drawer joint. For more fun DIY home fixes, follow our blog.

You don’t need to do this alone. I am bilingual in English and Spanish, and I have been in the industry for over 20 years, after earning my degree in Business Management and successive studies in Human Resources and Technology. Never content to let my education lapse, I also received a certification in Negotiation Skills from Pepperdine University and attended courses at Stanford University. A leader in the field, I am a member of the Santa Clara Board of Realtors and served as a professional standards ombudsman for 8 years. I completed a term as the President of the National Hispanic Organization of Real Estate’s Santa Clara chapter in 2016, now serving as this organization’s National Vice President. I pursued additional in-depth training to achieve professional designations as an ABR (Accredited Buyer’s Representative), CRS (Certified Professional Specialist), and SRES (Seniors Real Estate Specialist), GREEN certification, and RCS-D (Divorce Real Estate Specialist). Far from being a meaningless alphabet soup, this demonstrates how proactive I am in pursuing the latest knowledge so that I completely prepared to satisfy all my sellers' and buyers' unique needs. I am committed to Excellence!